WordPress is an adaptable platform that accepts a variety of themes, plugins, file types, and other software. The WordPress memory limit issue, however, could appear periodically when you try to upload these resources.
Fortunately, there are solutions to fixing this error. You can continue to add content and let your WordPress website develop without any problems by increasing the PHP memory that is available.
We’ll outline four techniques to fix any issues with your website:
Contents
- 1. Edit Wp-config.php file to increase wp_memory_limit
- 2. Change server settings via PHP.ini
- 3. Increase memory limit via .htaccess file
- 4. Upgrade the hosting package for your website.
- Why might the “WordPress Memory Limit” issue appear?
- Important notes before you increase the WordPress memory limit
- Conclusion
1. Edit Wp-config.php file to increase wp_memory_limit
The simple answer to having insufficient memory is to increase it!
The wp memory limit variable in WordPress’ wp-config.php file allows you to change the limit as of right now. This cap, nevertheless, can be lower than the one available on your hosting package.
If so, you might be able to fix this error by making changes to your wp-config.php file. It is wise to make a backup of your website before making changes at the code level because there is some risk involved.
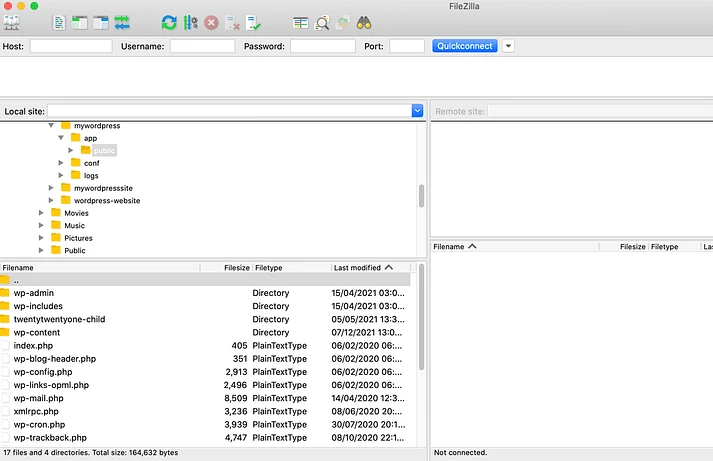
You must use an FTP client like FileZilla or access file manager via Cpanel to establish a connection to your server in order to edit the wp-config.php file.
- Go to File
- Site Manager within the FileZilla client.
- Choose File
- Site Manager
- New Site if this is your first time connecting via FTP.
- You can now enter your FTP username and password along with some information about your website. You can normally locate this information in your web hosting account if you don’t remember your FTP passwords.
- Now FileZilla is connected to your website, it will show all of its files.
- Go to the root folder of your site in the app
- Right-click the wp-config.php file inside this folder and choose View/Edit.
- This launches your default text editor and opens wp-config.php.
- Now look for the phrase WP MEMORY LIMIT in your search engine.
- The appearance could resemble this.
define( 'WP_MEMORY_LIMIT', '32M' );You need to increase the number of this code that already exists in your wp-config.php file. You may expand it from 32M to 256M, or 512M for instance.
You must include this line of code if it doesn’t already exist in the file. Simply put the code below above the line that says:
/* That's all, stop editing! Happy publishing. */:define( 'WP_MEMORY_LIMIT', '256M' );2. Change server settings via PHP.ini
By making changes to your PHP.ini file, you could also be able to increase the limit. Any application that needs PHP has its default configuration specified in this file.
PHP is executed on your server each time a user accesses your WordPress website. The PHP programming language consults the PHP.ini file for guidance during this procedure. You can do this by adjusting the WordPress memory limit.
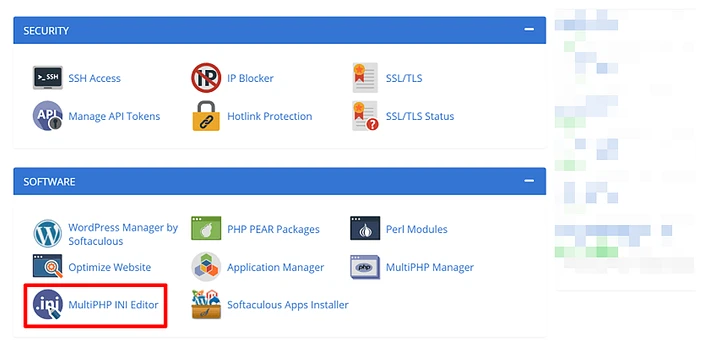
You might be able to modify the PHP.ini configuration using cPanel if your host makes use of it. This utility is commonly known as PHP Config, MultiPHP Manager, or MultiPHP INI Editor. However, not all hosts grant you this power.
As soon as you launch this tool, you can change it:
You might also be able to modify the PHP.ini file over FTP as we mentioned in step 1 if your server does not have an in-dashboard PHP.ini editor.
- Once you’re connected, use the FileZilla window to navigate to the root directory and find the file.
- Look for a line in the file that starts with “memory limit=” when you open it. This value can now be increased, and your modifications will be saved.
- You’ll need to restart your server for these modifications to take effect. The error shouldn’t return until your server is operating normally again.
3. Increase memory limit via .htaccess file
If your web host runs Apache, the.htaccess file is an important configuration file (which many hosts do). A large portion of your site’s settings, including its memory limit, is controlled by this file.
Without having to change your server configuration files, you can send instructions to your server using the .htaccess file. This means that if you can’t access your PHP.ini file,.htaccess is a decent alternative.
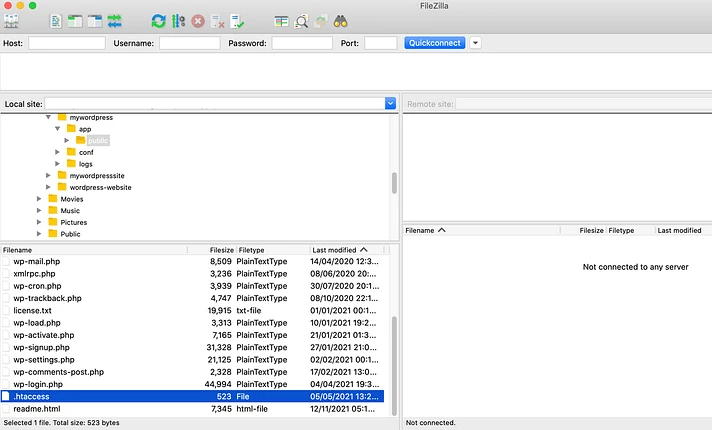
Use an FTP client to connect to your server, as we covered in the previous steps, in order to access this file. The.htaccess file is located in the public_html directory of your website, which you can access next:
Open this file now, and add the following code after the line that reads # END WordPress:
php_value memory_limit 256M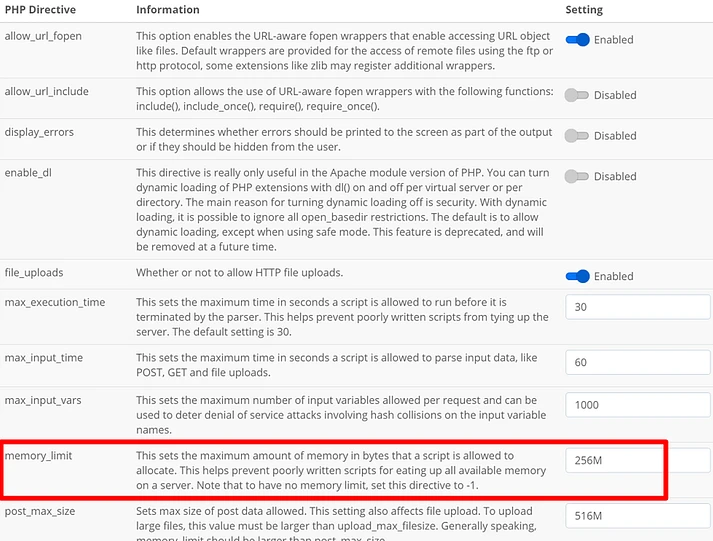
Once you’re finished, remember to save your edits.
N.B: Normally the Htaccess file is hidden, so you should enable the “show hidden files” option to find it.
4. Upgrade the hosting package for your website.
Your hosting package ultimately determines how much RAM is accessible to your website, even though you can frequently increase it. You will have limited access to resources under each plan. You may have your current plan if you’ve tried all the suggested workarounds yet this issue is still occurring.
You should be able to access this information on your hosting panel or on the website of your web provider if you wish to check your RAM size. As an alternative, you can always ask your provider for help.
Consider upgrading your plan if you believe that you have used up all of your space resources. This could entail upgrading to a new tier or changing to a different hosting plan. For instance, switching from a shared hosting plan to a virtual private server may be necessary if you are currently using one (VPS). Even upgrading to a dedicated server is an option.
Alternatively, you might elect to switch hosting companies. We advise paying close attention to the amount of memory allotted as part of each plan while looking for a new host. Find a service that gives a default limit of 256 MB or more whenever you can.
Why might the “WordPress Memory Limit” issue appear?
When you run into a problem in WordPress, you’ll naturally want to fix it as soon as you can. However, knowing the error and its cause is frequently helpful. After that, you can take action to prevent running into this issue again.
The majority of common WordPress issues are quite simple to fix, however, the error message isn’t usually very detailed. The 500 internal server error is a well-known example of this. you may read this article about the 5xx errors.
Everything you upload or install with WordPress is kept on a server. Your web hosting company allows a set number of resources to your website when you purchase a plan. This includes the RAM that is utilized to store every piece of information on your website.
It’s possible that you will occasionally see the warning “Fatal error: permitted capacity of 67108864 bytes exhausted” when trying to upload media to your WordPress website. You can run into this issue if you try to set up a fresh theme or plugin. No of the cause, this error indicates that your RAM is full.
Important notes before you increase the WordPress memory limit
Unfortunately, because so much depends on how your hosting environment is set up, we can’t promise that all of these steps will work for you. That’s why we provided various solutions; maybe, one of them will be suitable for your circumstance.
We strongly advise that you create a backup of your website before doing any of these repairs because they often require modifying core WordPress files.
There are other backup options, but the UpdraftPlus plugin allows you to upload your work to various cloud storage services.
theses are some methods to increase the wp limit if you have a recent backup of your website
Conclusion
As we’ve discussed in this post, boosting your RAM limit and maybe investing in a more sophisticated hosting package can help you reduce the likelihood that you’ll run into this issue. In general, you’ll have more space and RAM available to you the more expensive your hosting package is.